Earn Skoutley Cash with every Purchase $$

Your Premier Off-Road Superstore!

Over 25,000+ UTV Parts & Accessories

Confidence you can trust on every order

Quick U.S.-Based Fulfillment

👉 Ships fast from trusted U.S. suppliers

Secure Checkout & Payments

👉 Safe, secure checkout with trusted payment options

Built for the Community

👉 Supporting riders on and off the trail

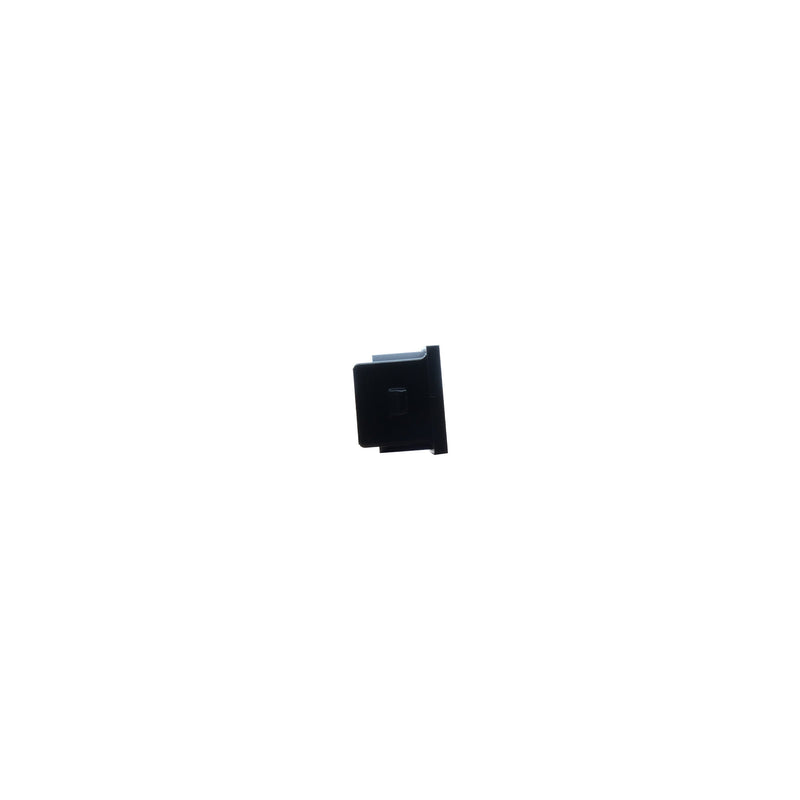
Load image into Gallery viewer, Sony Microphone Mount | '16 - '23 Tacoma

SKU: TACO-TGP-MIC

Sony Microphone Mount | '16 - '23 Tacoma

Regular price $11.00 USD
Sale price $11.00 USD Regular price
Sale Sold out
Unit price
/per 
Shipping calculated at checkout.
Pay in 4 interest-free payments with Afterpay Ships from trusted U.S. suppliers
This is a pre order item. We will ship it when it comes in stock.

How to install your Mic Mount

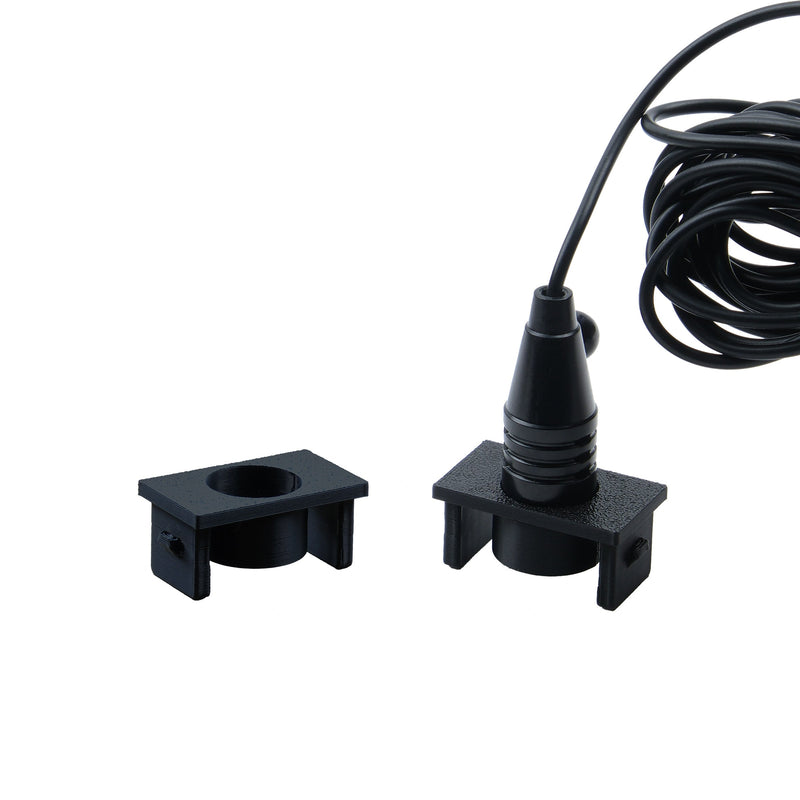
We are proud to offer you a solution for mounting your Sony aftermarket microphone in your 2016 – 2023 Tacoma’s headliner console.

This allows your new microphone to be neatly tucked away in the headliner console and maintains the level of voice clarity and function you expect.

Installation Steps

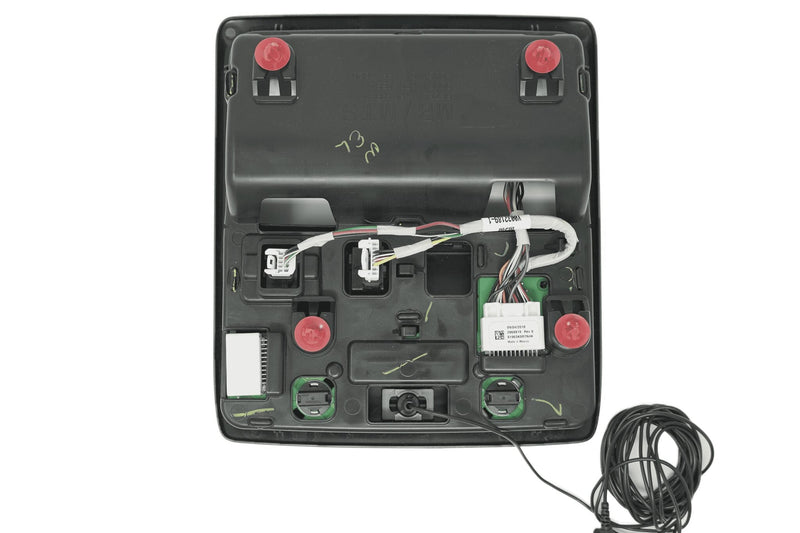
  1. Remove Headliner Console.
    – The headliner console is typically held in with pressure clips and can be removed by pulling straight down. It is recommended to use gently pressure with a panel removal tool to pry the headliner console out.
  2. Remove Headliner Console Wiring Harness. Unplug harness connector.
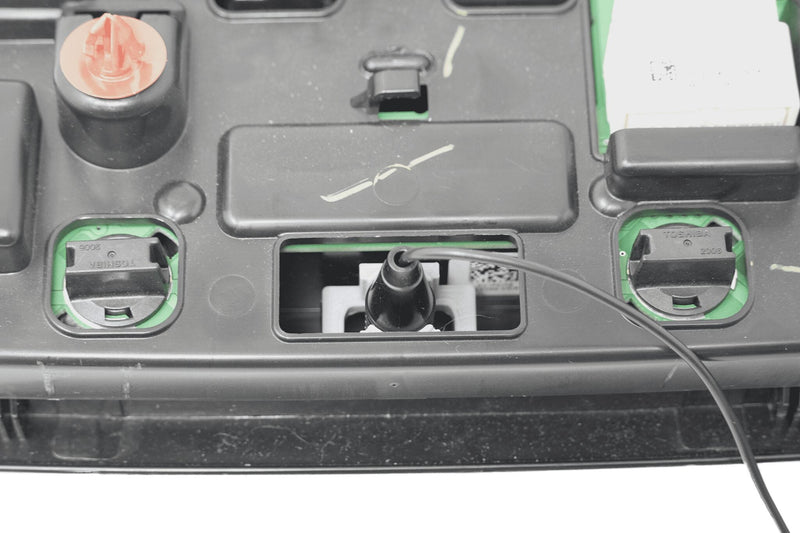
  3. Remove Foam Insert. Locate microphone port and remove the foam insert.
  4. Remove Mounting Ball On Sony Microphone. The small ball can be removed easily by cutting with a pair of side cutters or a utility knife.
  5. Install Microphone To Mount. Push the rounded end of the microphone thru upper support of the mount. The rounded end of microphone should be very close to in line with the bottom of the 2 legs on mount. Align the spot where you cut off the ball to be in-line with one of the upper supports. This will make sure the audio openings on the side of the microphone are not obstructed.
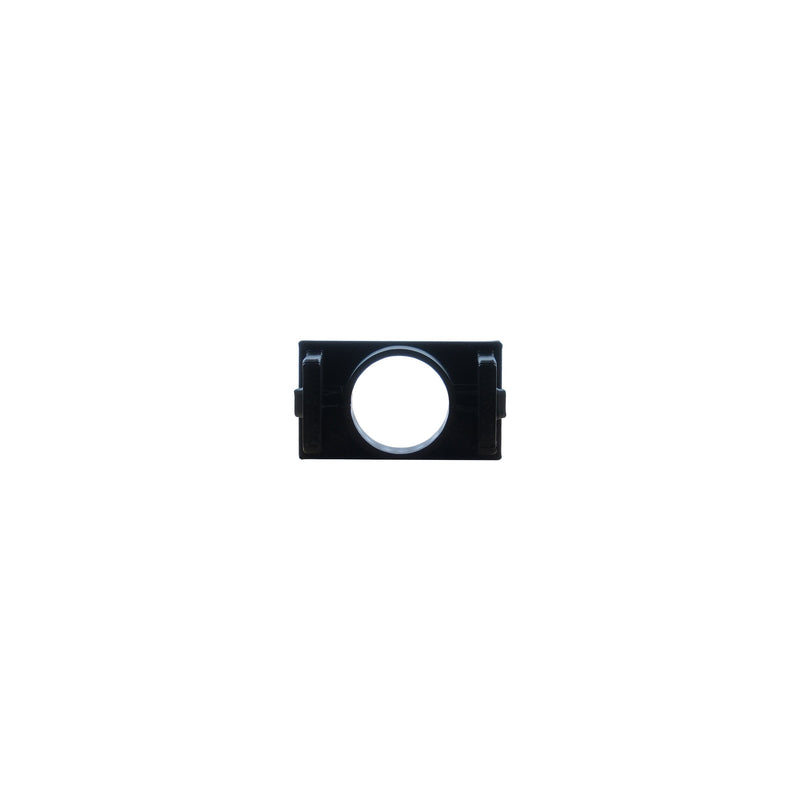
  6. Install Sony Microphone Mount. Install mount into headliner console. Insert mount (legs & rounded end of microphone facing down) until the clip locks into place.
  7. Route Microphone Wire. Start by routing microphone wire from headliner console area through headliner towards rearview mirror. At this point, you can re-install the headliner console. Be sure to pull excess slack toward the rearview mirror while reinstalling headliner console. Continue routing the wire along the top of the windshield toward the driver side A pillar. Tuck the wire behind the A pillar cover and route down the A pillar toward the driver’s floorboard. Run the wire under the dash area and finish by routing the 3.5mm jack to the back of your new Sony Bundle. Connect the 3.5mm jack into the red mic port on the rear of the Sony radio chassis.
  8. Test Functionality. Test functionality after making all required connections.
Black t-shirt with 'Skoutley Off-Road' graphic and website text on a white background

Rep the Ride

Shop Apparel